


FREE DELIVERY to selected countries |    | 

More results...

Generic selectors
Exact matches only
Search in title
Search in content
Post Type Selectors
product

HOW TO INSTALL?

INSTALLATION OF A INVISIBLE-DOOR, WARDROBES OR PANELS

The installation of our invisible products is designed to be the easiest on the market:
ideal for bricklayers, drywallers window fitters and also studied diy.

FOLLOW THE STEPS

Installation of a Invisible Hinged Door

Here is a text and video showing you the different steps for installing your new door

Watch the installation video

We have prepared a video showing you all the steps to properly install an invisible hinged door. Watch it all for visual and practical guidance.

Who can install?

The installation of our hinged doors can be carried out by:

  1. Construction company carrying out renovation work;
  2. Plasterer contractor who is in charge of making the walls or the or ceilings;
  3. Craftsman who has experience in installing window frames and interior doors;
  4. 🔨 DO-IT-YOURSELF, only recommended if you have experience with plasterboard wall construction, including plastering and gauzing

When can it be installed?

The installation of our hinged doors can be carried out by:

  1. During work: you can have the flush door installed during renovation work;
  2. Once the work is done: the door can also be installed on finished walls with completed floors and ceilings, as shown in the video.

Ask for early shipment of the frame

If you are remodeling your house, you can request the frame in advance. In this way, you can install it immediately and wait calmly for the door to arrive, avoiding damage and hindrance in the work.

PLAN YOUR WALL SPACES

If you are planning work, decide in advance where and of what size to make the wall recesses that will accommodate your flush doors will be that will accommodate your flush doors. This process will save you time and money:

  1. Design your compartments
  2. Order the frames in advance
  3. Install the doors when you like

request instructions

You will always find detailed installation instructions inside our packaging, tailored to the specific product type. You can also request the PDF with instructions from the form on our website.

Do you need an installer?

To request a quote on installation send us an e-mail, indicating the destination city and the type of product you need to install.

FOLLOW THE STEPS

Installation of a Invisible Sliding Door

Below you will find videos showing the processes for assembling both the frame and the corresponding sliding door

frame installation

4 Videos

Watch the installation and assembly videos

These videos show all the steps to properly install the invisible sliding door frame and its door.

Who can install?

The installation of our sliding doors can be carried out by:

  1. Construction company carrying out renovation work;
  2. Plasterer contractor who is in charge of making the walls or the or ceilings;
  3. Craftsman who has experience in installing window frames and interior doors;
  4. 🔨 DO-IT-YOURSELF, only recommended if you have experience with plasterboard wall construction, including plastering and gauzing

When can it be installed?

Installation of our sliding doors can be done during the work: you can have the frame of the flush sliding door installed during renovation work. The in-wall sliding door can also be installed after the work is finished.

PLAN YOUR WALL SPACES

If you are planning work, decide in advance where and of what size to make the wall recesses that will accommodate your flush doors will be that will accommodate your flush doors. This process will save you time and money:

  1. Design your compartments
  2. Order the frames in advance
  3. Install the doors when you like

Ask for early shipment of the frame

You can request delivery of the frame in advance. This way, you can install it right away and calmly wait for the arrival of your sliding door, speeding up the timing of the work.

request instructions

You will always find detailed installation instructions inside our packaging, tailored to the specific product type. You can also request the PDF with instructions from the form on our website.

Do you need an installer?

To request a quote on installation send us an e-mail, indicating the destination city and the type of product you need to install.

FOLLOW THE STEPS

Installation of a Invisible wardrobes or Panels

Here is a text and video showing you the different steps for installing your new invisible wardrobe or panel

Watch the installation video

We have prepared a video showing you all the steps to properly install an invisible wardrobe o panel. Watch it all thing for visual and practical guidance.

Who can install?

The installation of our wardorobes or panels can be carried out by:

  1. Construction company carrying out renovation work;
  2. Plasterer contractor who is in charge of making the walls or the or ceilings;
  3. Craftsman who has experience in installing window frames and interior doors;
  4. 🔨 DO-IT-YOURSELF, only recommended if you have experience with plasterboard wall construction, including plastering and gauzing

When can it be installed?

The installation of our wardorobes or panels can be carried out by:

  1. During work: you can have the warbrobe or panel installed during renovation work;
  2. After the work is done: the warbrobe or panel can also be installed on finished walls with completed floors and ceilings, as shown in the video.

PLAN YOUR WALL SPACES

If you are planning work, decide in advance where and what size to make the wall recesses that will accommodate your flush doors will be that will accommodate your flush doors. This process will save you time and money:

  1. Design your compartments
  2. Order the frames in advance
  3. Install the doors when you like

request instructions

You will always find detailed installation instructions inside our packaging, tailored to the specific product type. You can also request the PDF with instructions from the form on our website.

GIF

THE STEPS IN BRIEF

Here we try to summarize the steps of wall construction, frame fixing, grouting & door hanging

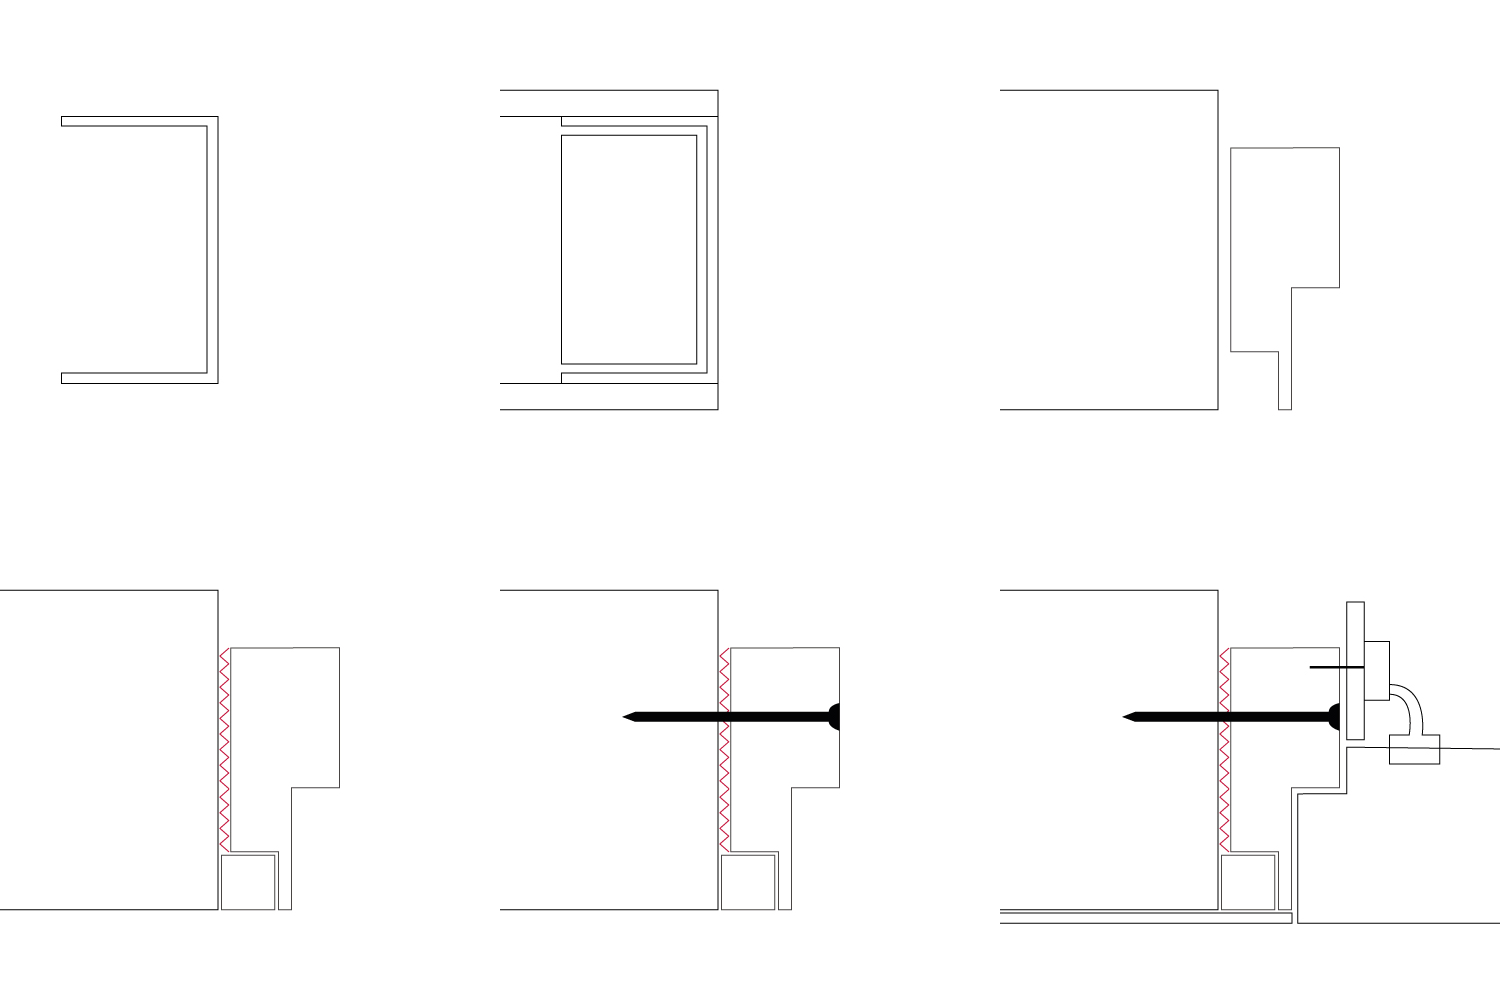
In this GIF we try to summarize and show these steps:
  1. Construction of the plasterboard or masonry wall
  2. Fixing the aluminum frame into the wall using foam (see red zigzag lines) and screws (fisher)
  3. Shaving, gauzing, grouting the flush side of the wall to perfectly integrate the frame into the wall
  4. Door hanging to the frame by means of their own concealed hinges

MORE QUESTIONS?

QUESTIONS & CONTACTS

Visit our frequently asked questions page or write to us for more information

CONFIGURATION OF OUR FLUSH PANELS & WARDROBES

The closing systems for our flush access panels and wardrobes can be configured with three different options, depending on your requirements:

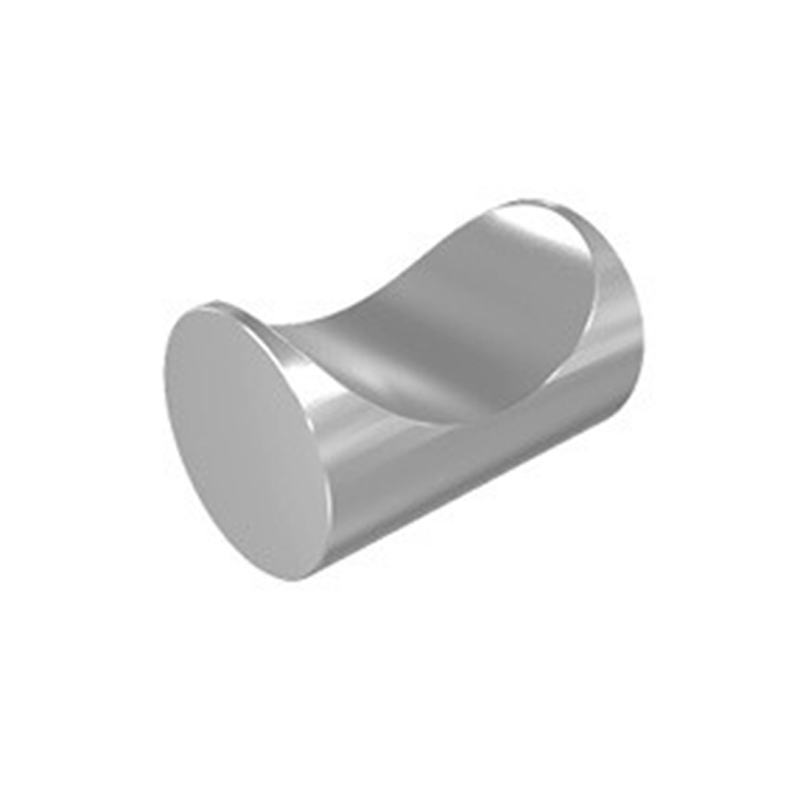
Magnetic closure (with knob)

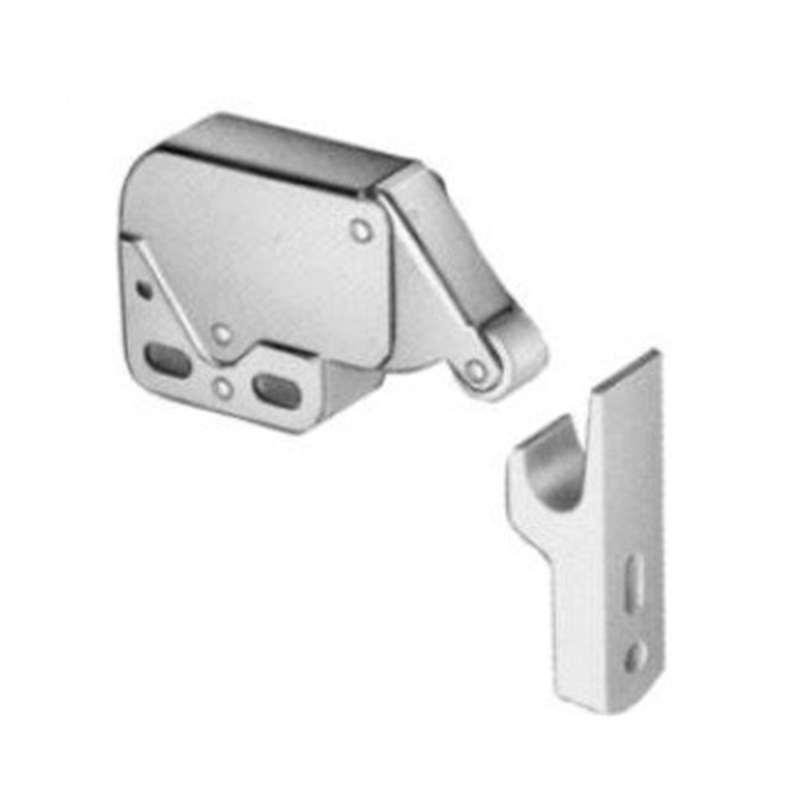
Push-to-open (handle-free)

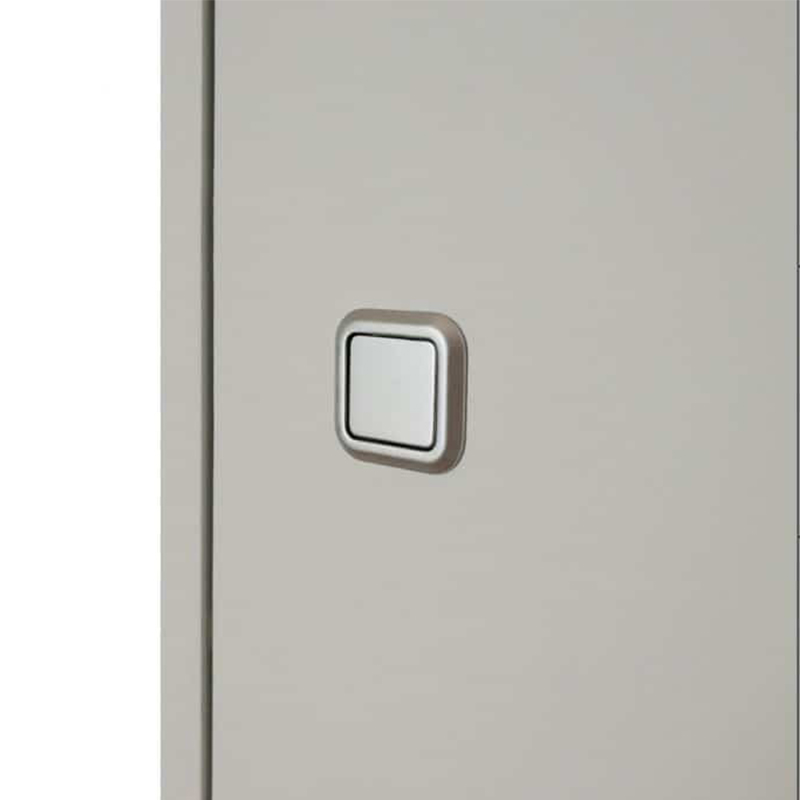
Recessed pull-out knob in satin silver finish

SYSTEM DETAILS

  1. Minimal fixed ergonomic knob: a visible closing system that allows easy opening thanks to a small, ergonomic knob designed for a comfortable grip.

  2. Push-to-open (no handle): this system ensures a completely invisible appearance. The panel opens and closes with a simple press.

  3. Recessed pull-out knob (satin silver finish): a semi-concealed solution that maintains a clean design while providing a practical grip. The panel opens by gently pulling the integrated recessed knob.

DOWNLOAD HANDLE CATALOGUE

CONFIGURATION OF FLUSH SLIDING DOORS

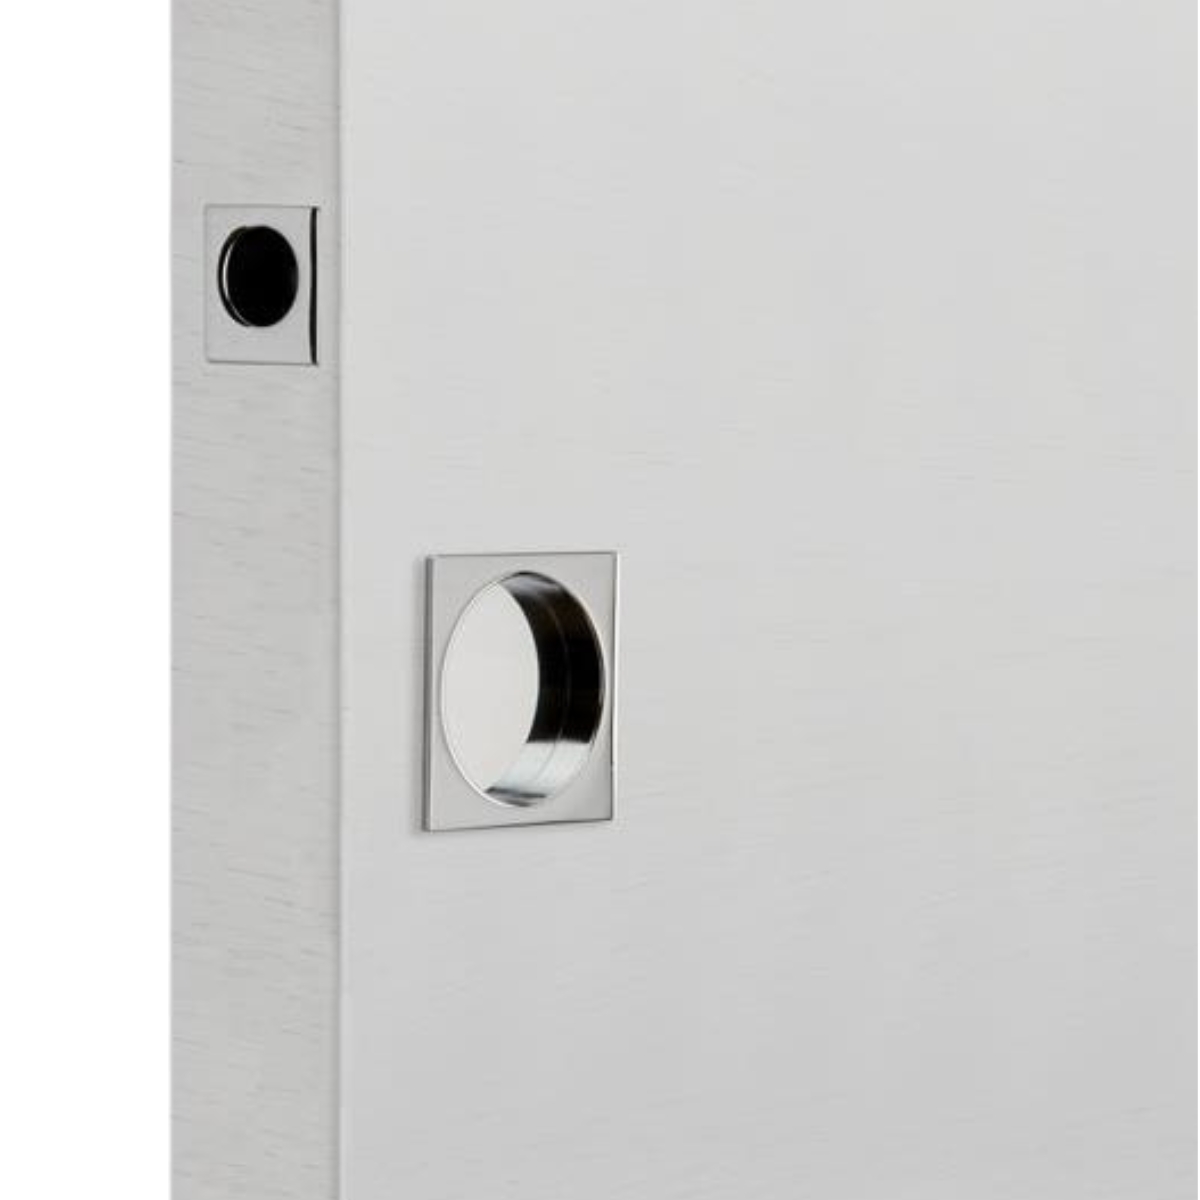
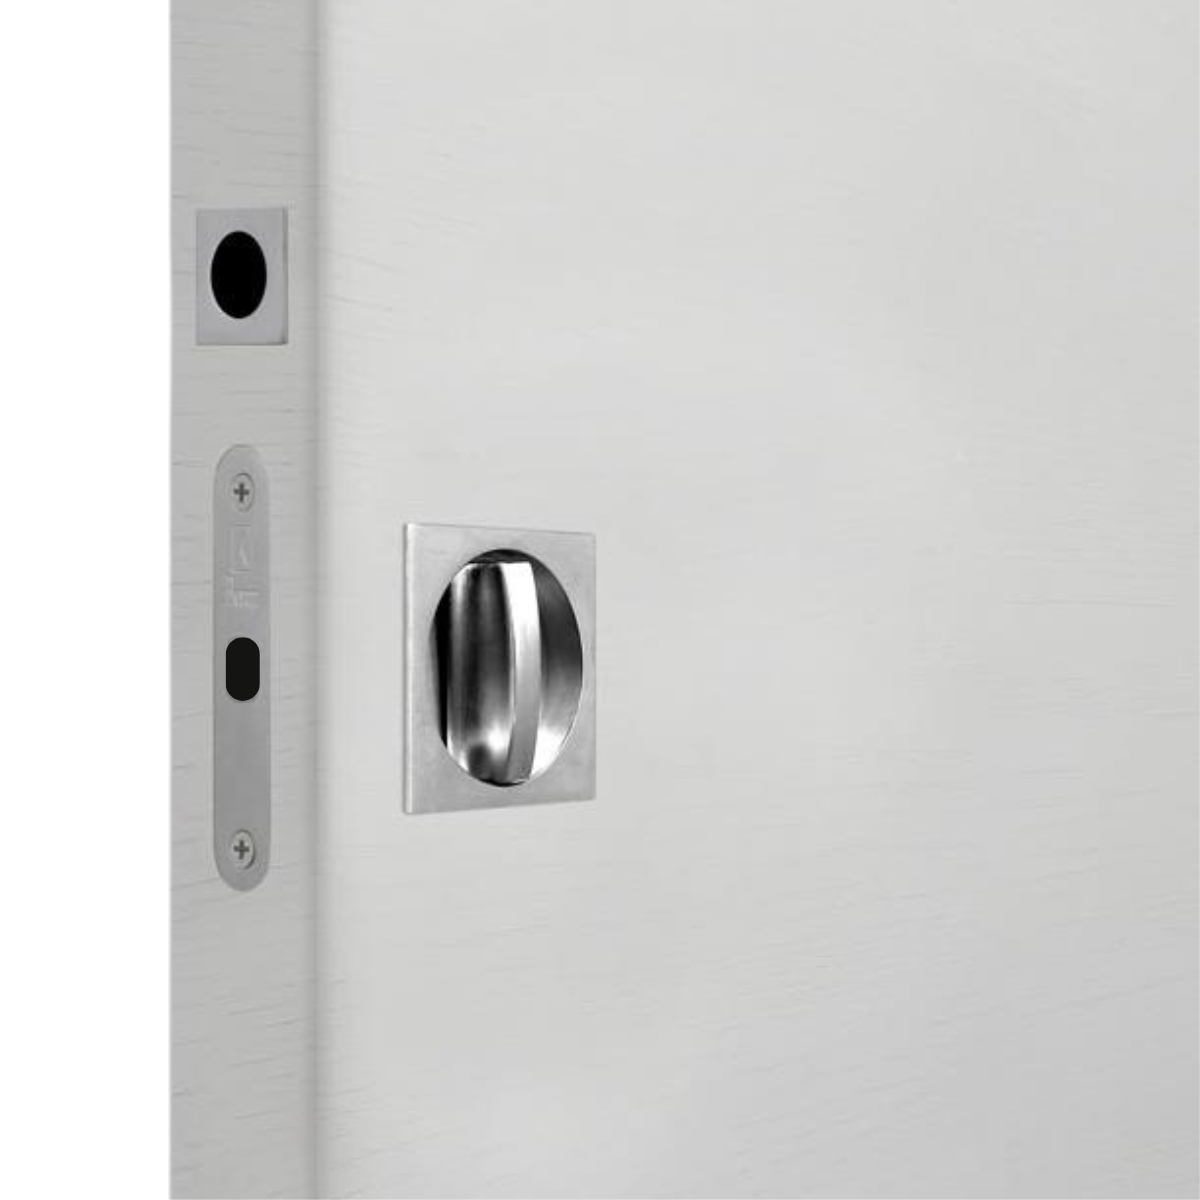
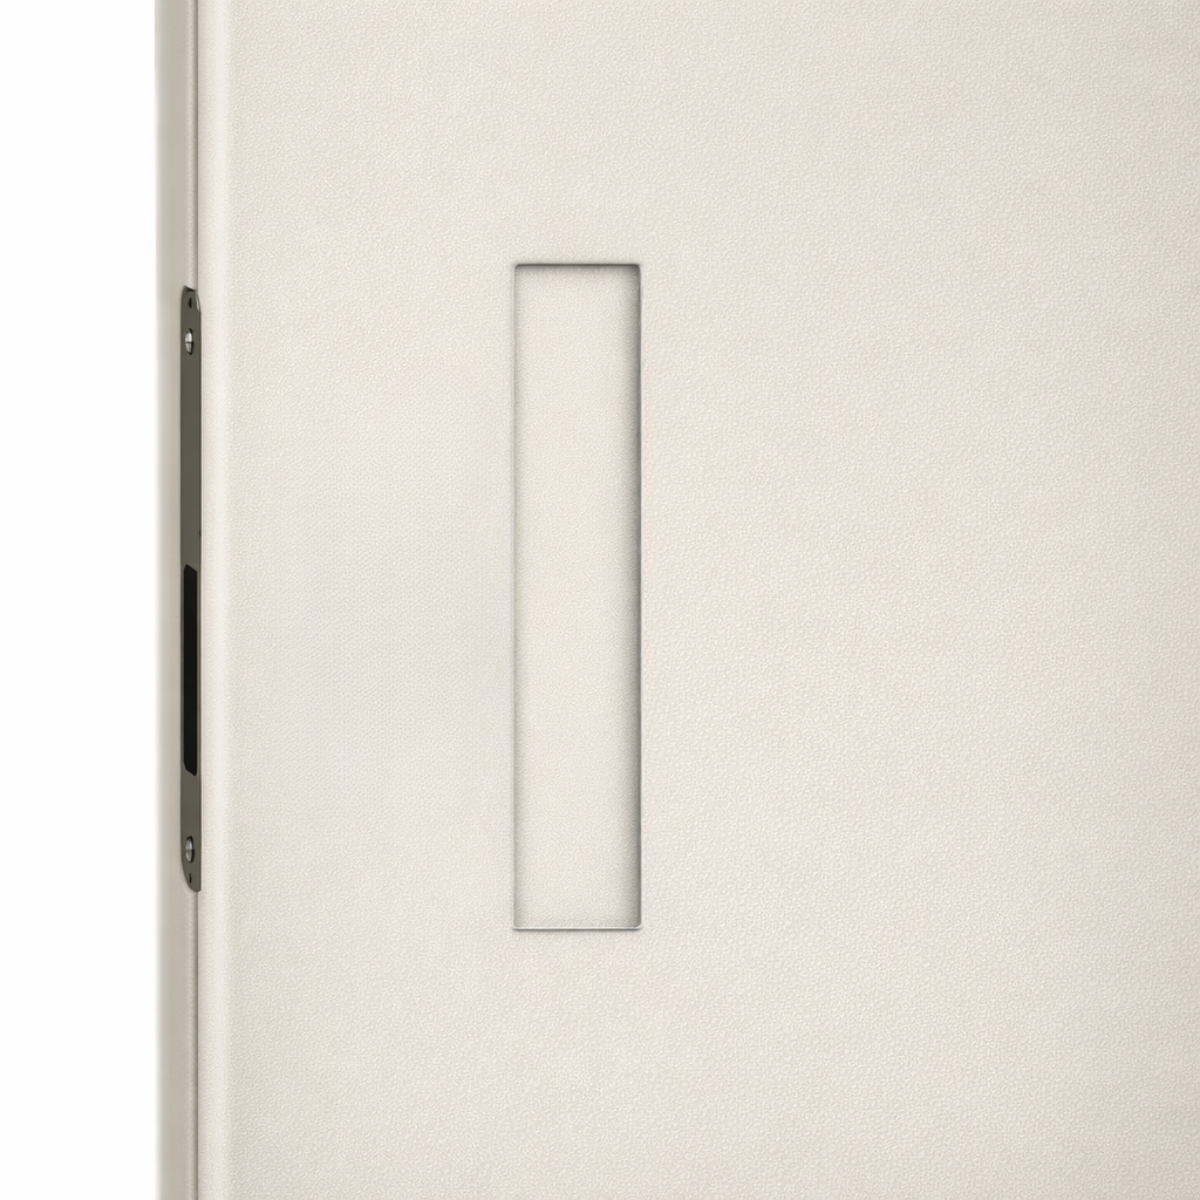
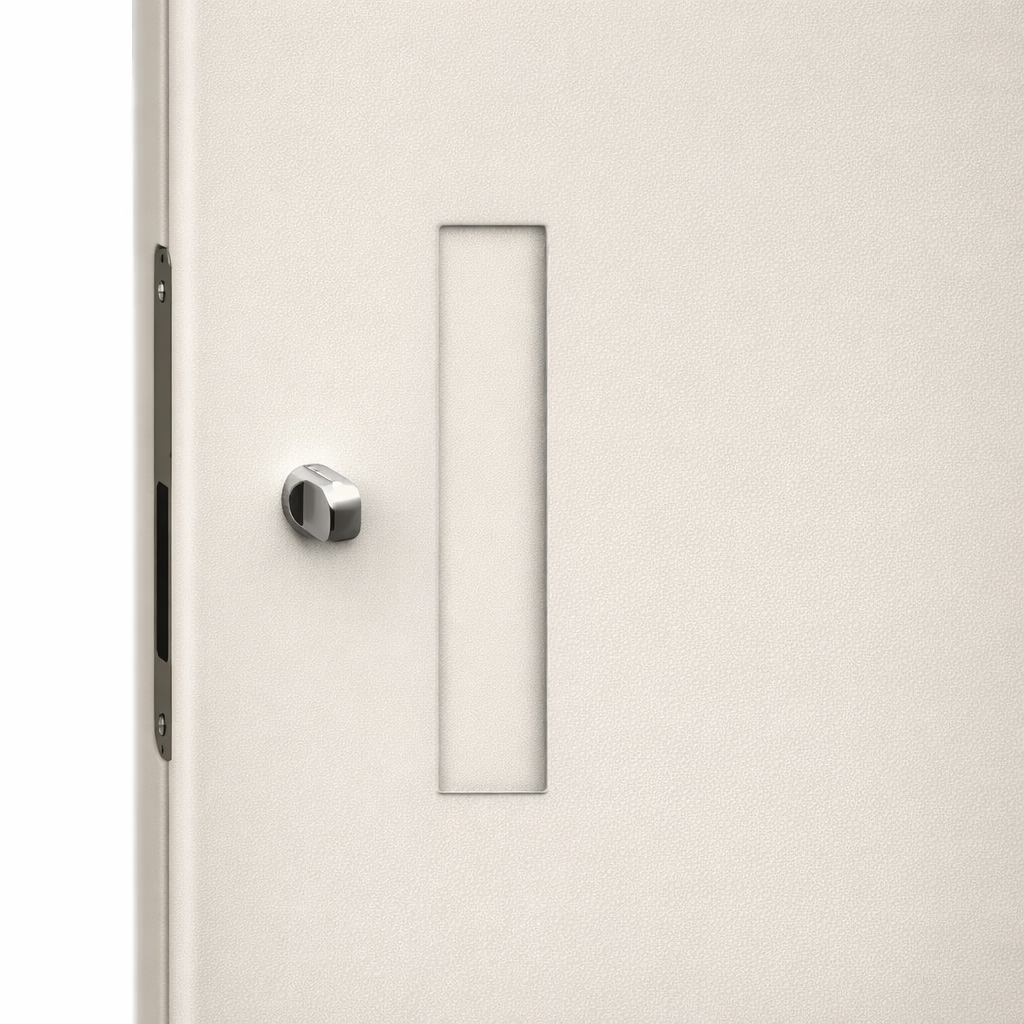
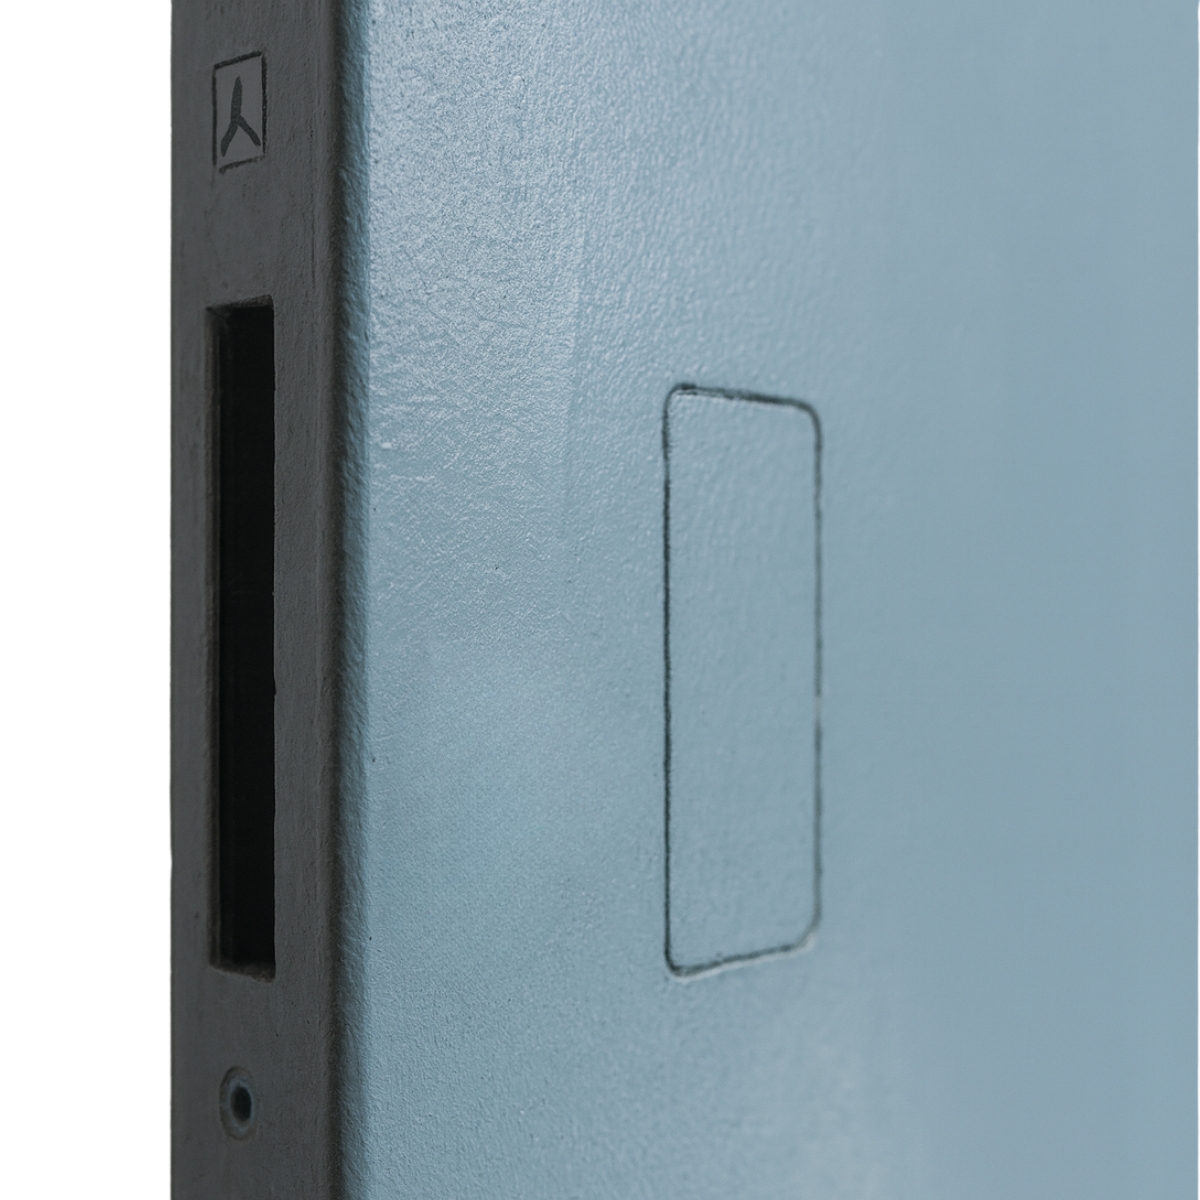
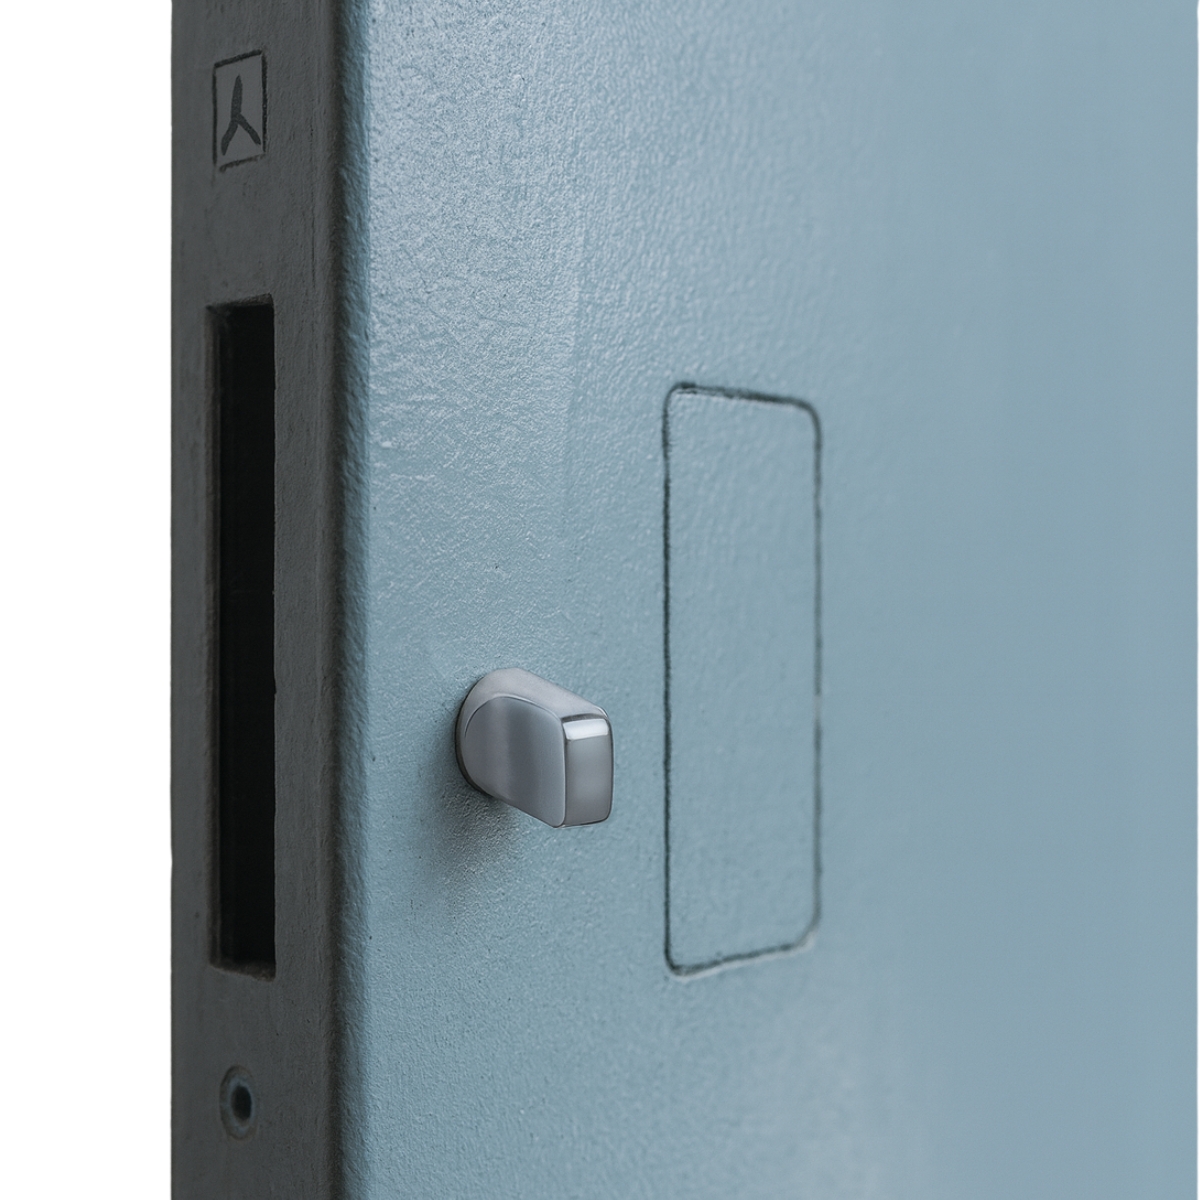
Our flush sliding doors, available in both standard and custom sizes, are fitted with a recessed aluminium handle in a satin silver finish, ensuring smooth and discreet operation. It can be configured with or without a locking system:

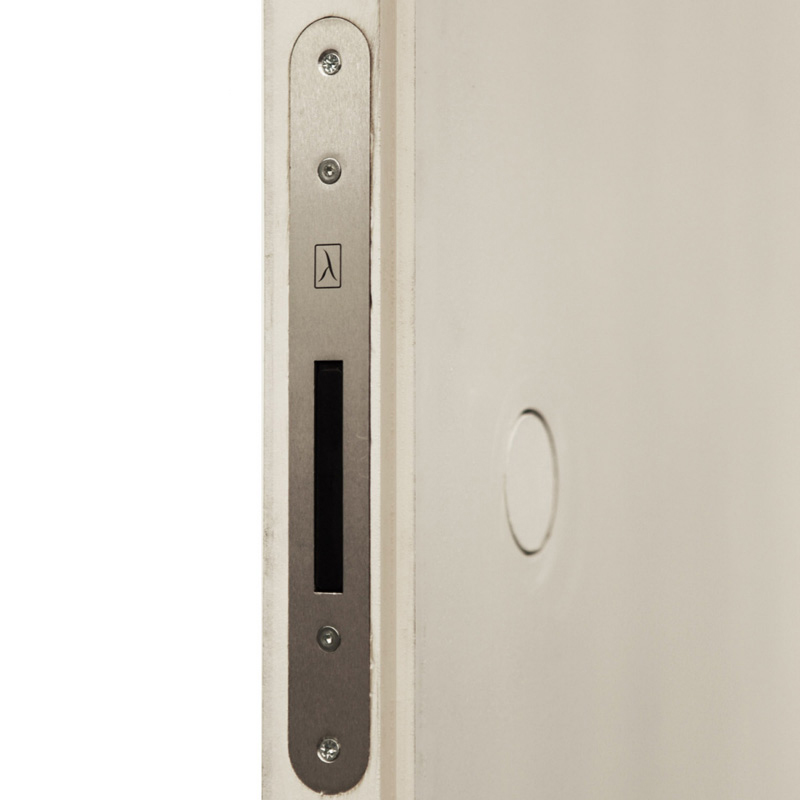
Recessed Pull Without Thumbturn

Recessed handle without lock – NSN

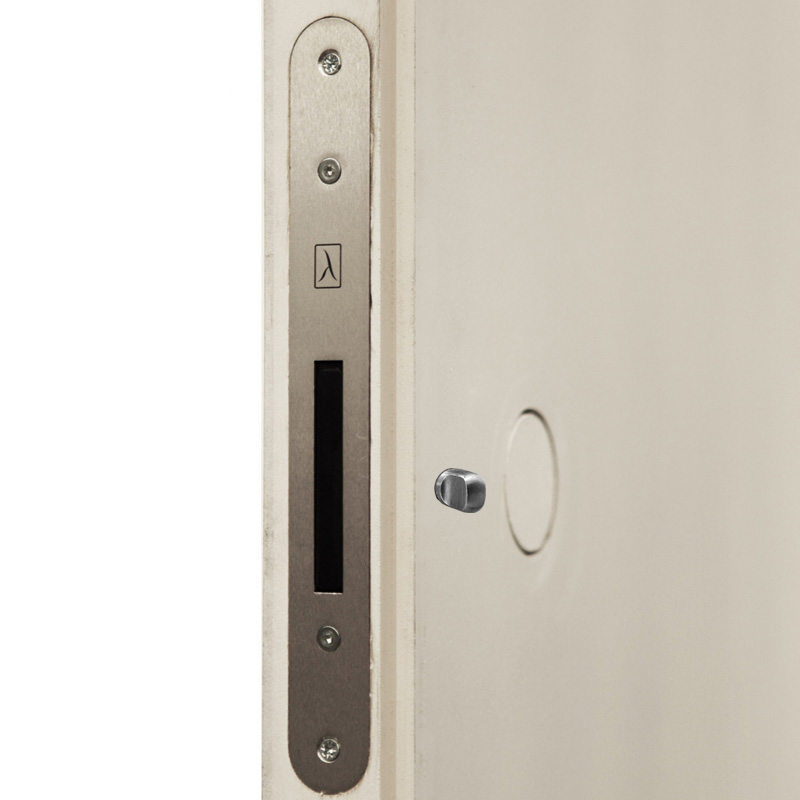
Recessed Pull With Thumbturn

Recessed handle with lock – NCN

The finger pull integrated into the panel thickness is always included in the price. All components are pre-installed at the factory, reducing installation time on site

DOWNLOAD HANDLE CATALOGUE

OPTIONS FOR FLUSH HINGED DOORS

Our flush hinged doors are equipped with premium-quality handles, model Lama by Olivari (100% Made in Italy), featuring certified and fully customisable locking systems. The magnetic locks used in our doors are manufactured by the Italian company AGB, and are 100% Made in Italy. Thanks to the magnetic mechanism 🧲, they ensure an exceptionally smooth and silent closing. 🛠 The magnetic lock is always pre-installed inside the door panel at the factory.

AVAILABLE HANDLE OPTIONS

Depending on the door type, we offer different handle configurations:

Available sizes: 60 / 70 / 80 × 210 H

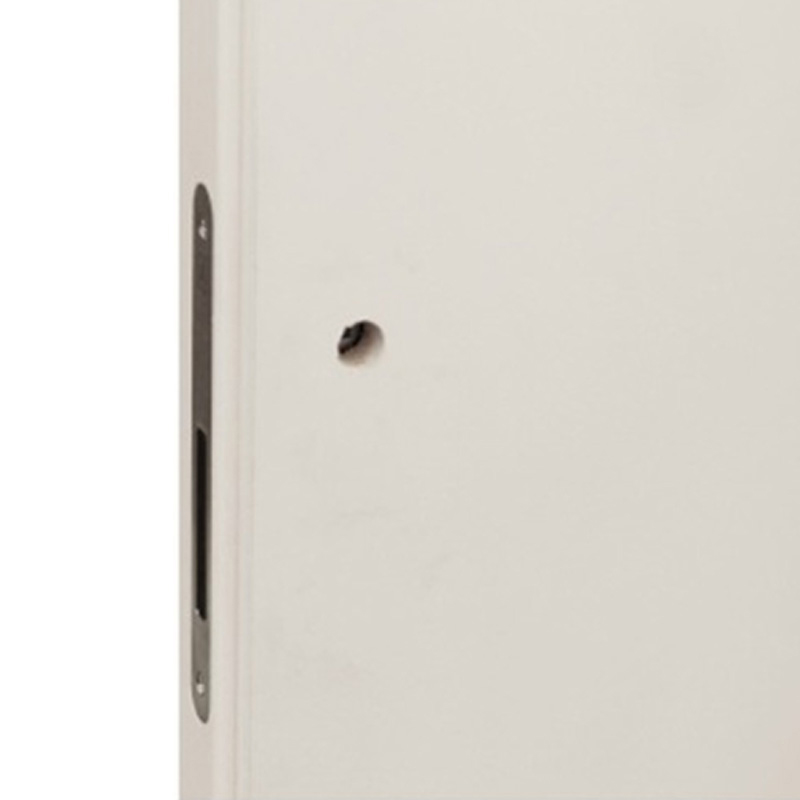
Handle hole – A

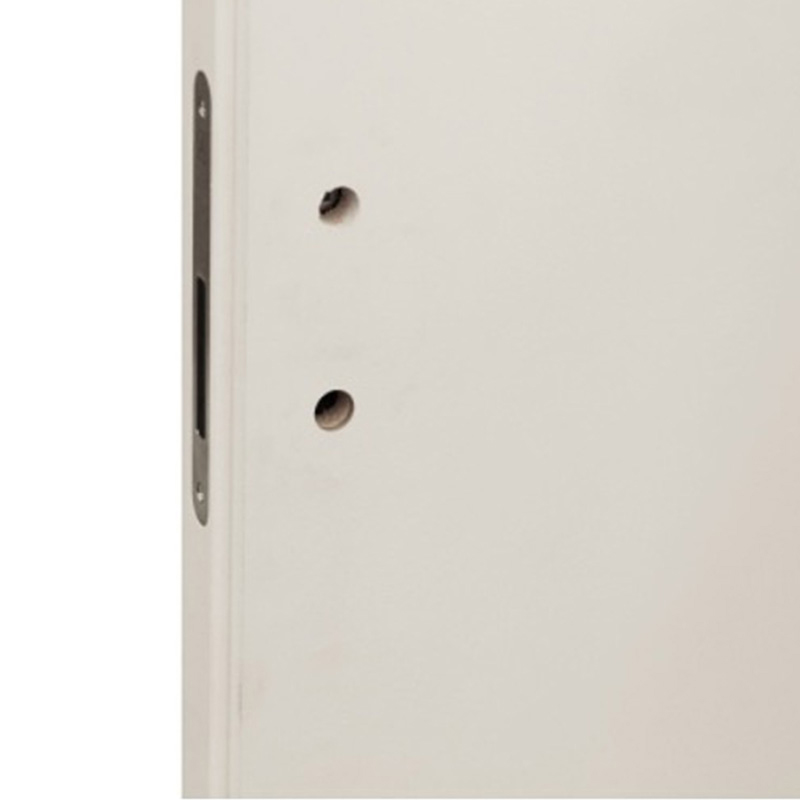
Handle + key – A1

Handle + privacy lock – A2

You can choose between A, A1 or A2 pre-drilling options, allowing you to receive the panel ready for handle installation.

  • Pre-drilling is free
  • AGB magnetic lock included and pre-installed

DOWNLOAD HANDLE CATALOGUE

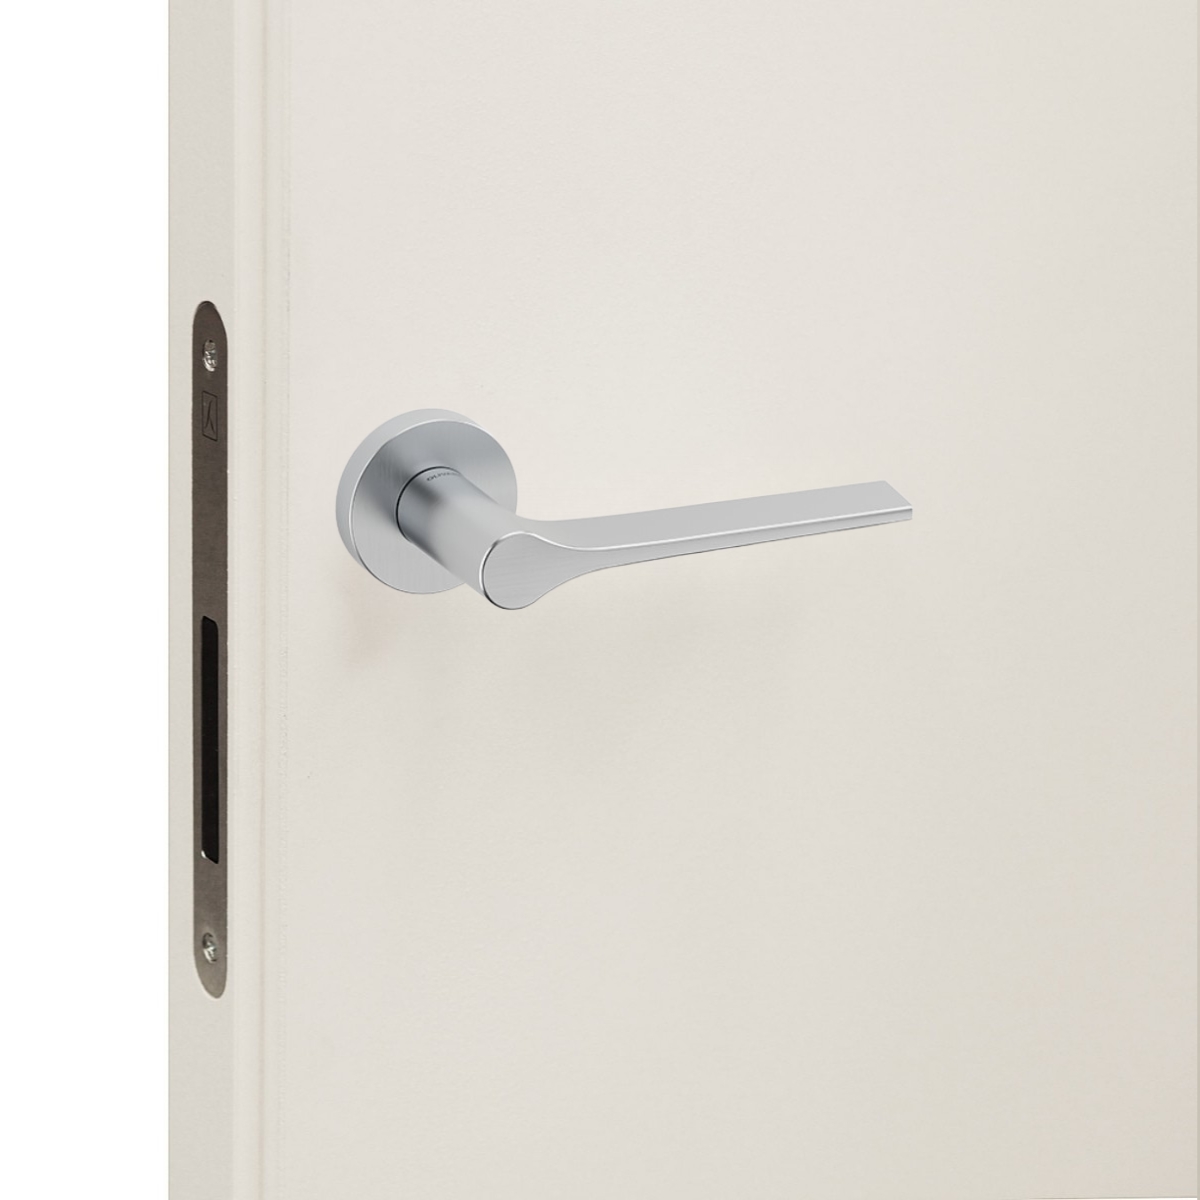
Olivai Lama Handle

Olivari Lama Handle – OL

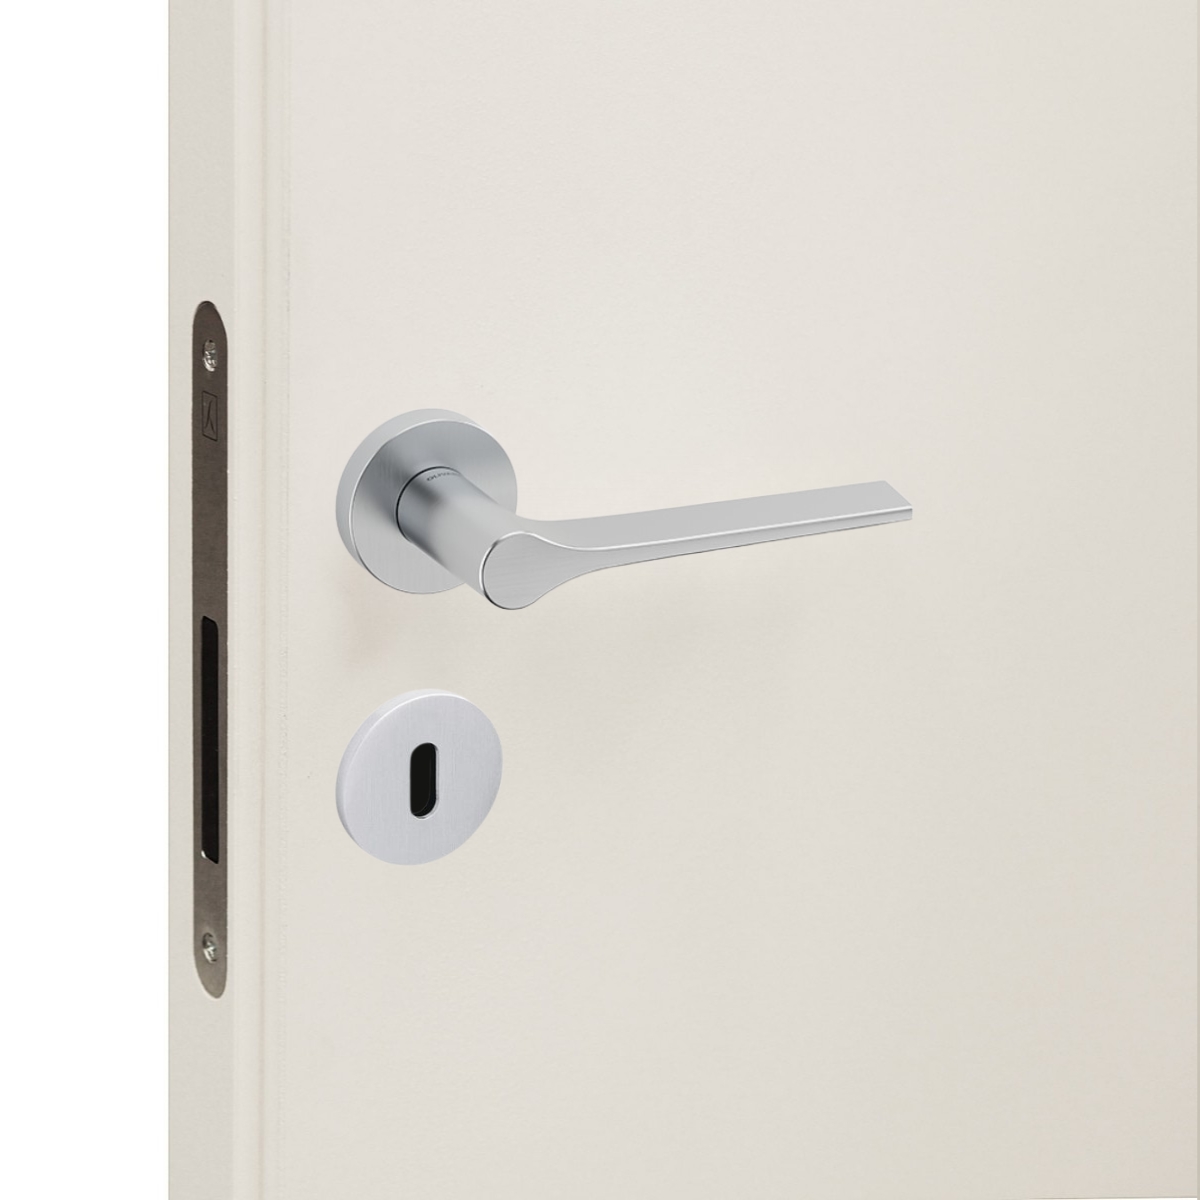
Olivai Lama Handle with patent key

Olivari Lama Handle with Patent Key – OL1

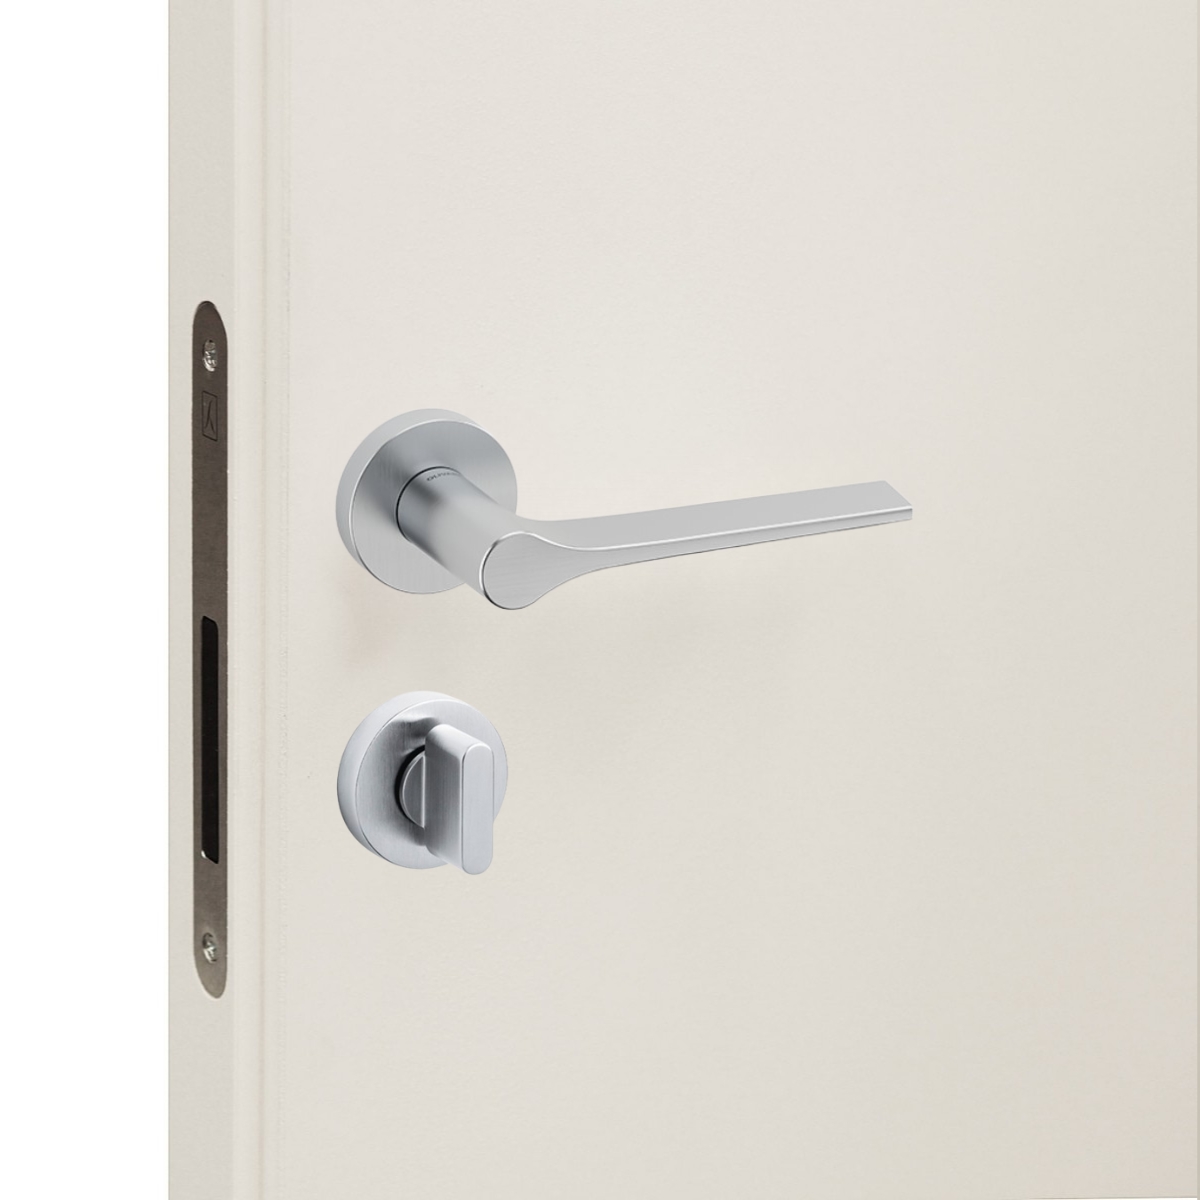
Olivai Lama Handle with privacy lock

Olivari Lama Handle with Privacy Lock – OL2

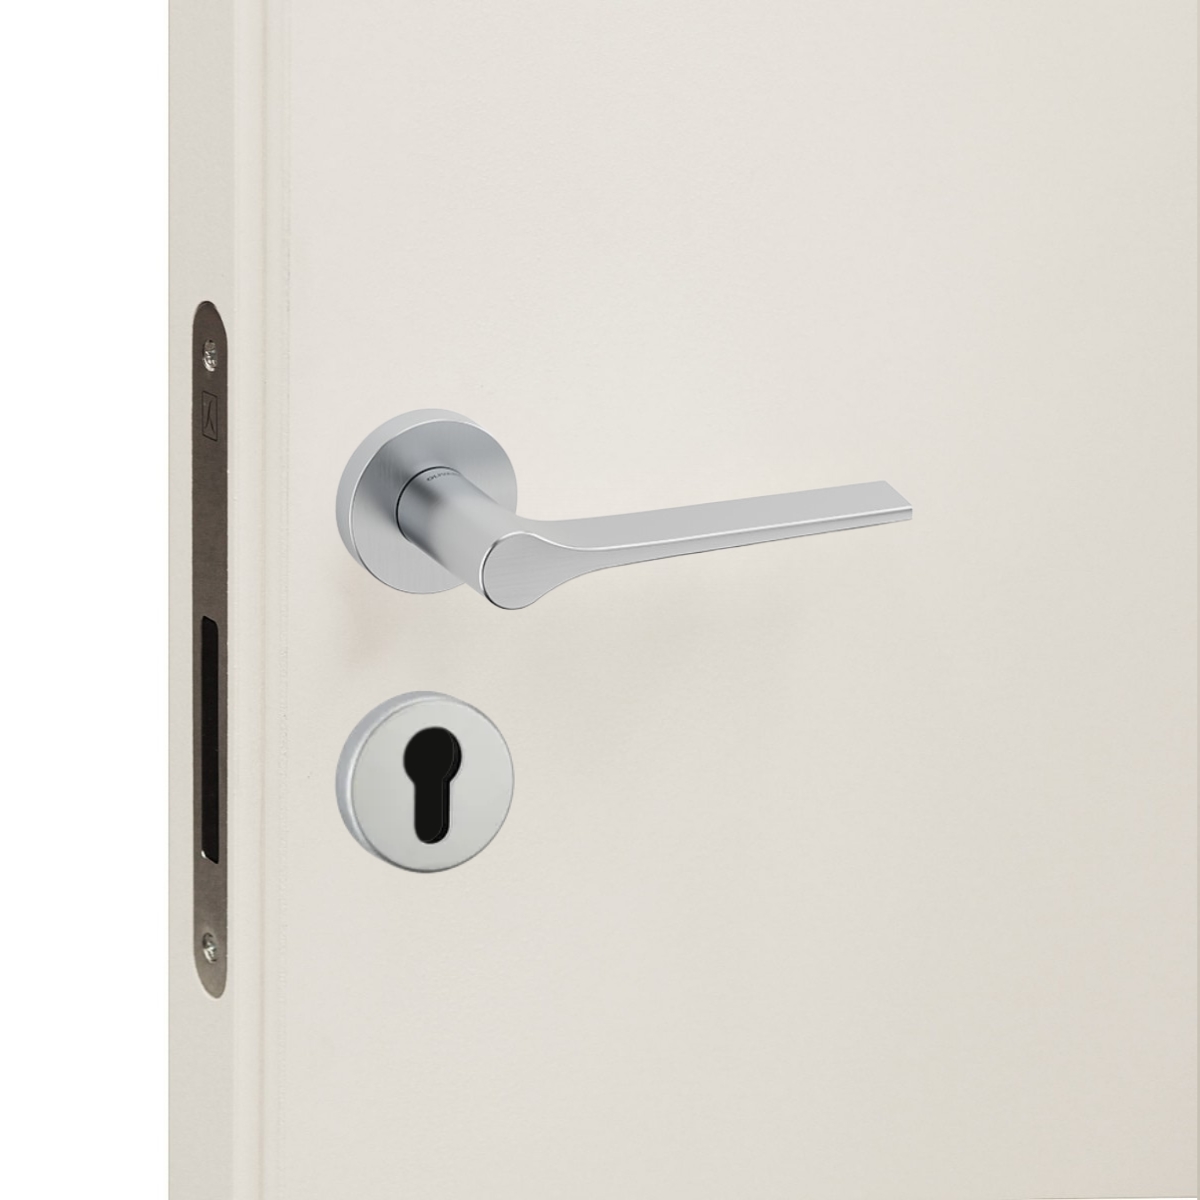
Olivai Lama Handle with cisa cylinder

Olivari Lama Handle with Cisa Cylinder – OL3

We selected one of the most iconic Olivari handles: a true example of Italian design excellence.

The Olivari Lama handle, designed by Giò Ponti, is available for purchase online in satin chrome finish (CO), with other original Olivari finishes available on request.

DOWNLOAD HANDLE CATALOGUE

all other sizes

Handle hole – A

Handle + key – A1

Handle + privacy lock – A2

You can choose between A, A1 or A2 pre-drilling options, allowing you to receive the panel ready for handle installation.

  • Pre-drilling is free
  • AGB magnetic lock included and pre-installed

DOWNLOAD HANDLE CATALOGUE

Olivai Lama Handle

Olivari Lama Handle – OL

Olivai Lama Handle with patent key

Olivari Lama Handle with Patent Key – OL1

Olivai Lama Handle with privacy lock

Olivari Lama Handle with Privacy Lock – OL2

Olivai Lama Handle with cisa cylinder

Olivari Lama Handle with Cisa Cylinder – OL3

We selected one of the most iconic Olivari handles: a true example of Italian design excellence.

The Olivari Lama handle, designed by Giò Ponti, is available for purchase online in satin chrome finish (CO), with other original Olivari finishes available on request.

DOWNLOAD HANDLE CATALOGUE

Recessed – G

Recessed with privacy lock – GN

These handles are fully integrated into the door panel.

They allow finishes such as wallpaper or wall panelling (boiserie) to be applied seamlessly..
They are compatible with the AGB Touch system, which is included and pre-installed at the factory.

The privacy lock is supplied without a rosette, ensuring a clean and minimal design.

DOWNLOAD HANDLE CATALOGUE

invisible rectangular handle

Rectangular invisible handle – MSR

invisible rectangular handle with privacy lock

Rectangular invisible handle with privacy lock – MSRN

invisible round handle

Round invisible handle – MST

invisible round handle with privacy lock

Round invisible handle with privacy lock – MSTN

Designed to make flush doors completely invisible.

The privacy lock is supplied without a rosette, ensuring a clean and minimal design.

DOWNLOAD HANDLE CATALOGUE